Kitchen Remodeling Ideas To Refresh the Heart of Your Home
Kitchen Remodeling
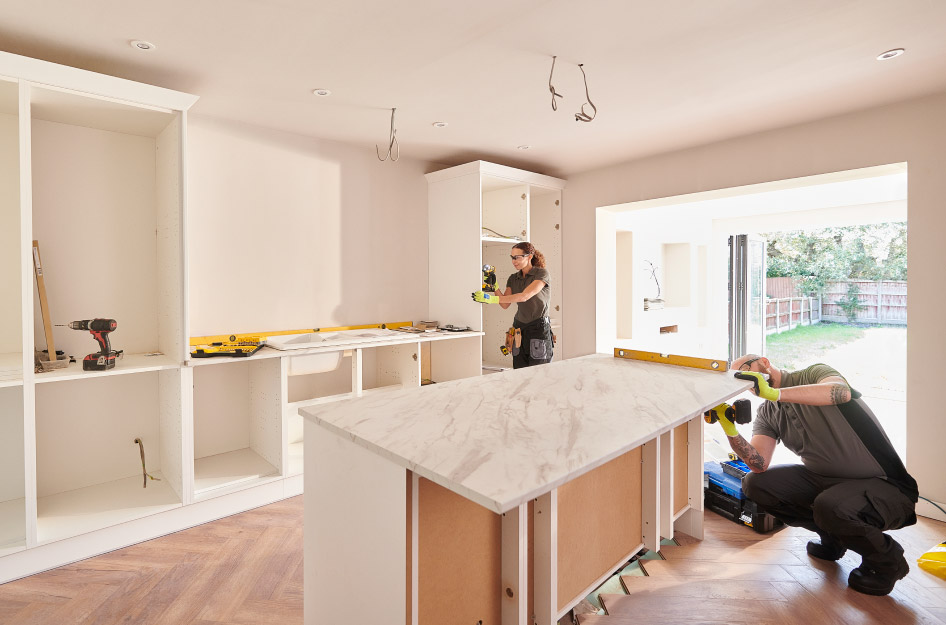
Nothing takes the spice out of prepping a home-cooked meal like trying to dish up deliciousness in a cramped space with outdated appliances and decor that’s stuck in 1987. If you’ve got an appetite for a kitchen remodel — and now’s a great time to invest in your home — read on for our menu of tips to consider as you get started.
What Is the Cost of a Typical Kitchen Remodel?
This depends, of course, on your definition of “typical.” If your taste runs toward imported Italian marble countertops and an LED screen built into your fridge, plan accordingly. But undertaking a redo will generally run $15,000 to $50,000, depending on how much of the space you want to revamp. More specifically, the National Kitchen and Bath Association recommends that you budget 15 percent to 20 percent of the value of your home for your own kitchen remodel — and then add another five percent for the inevitable unexpected expense.
Cabinetry and hardware top the list of kitchen remodel costs, taking the biggest bite out of your budget.
What Is the Most Expensive Part of Redoing a Kitchen?
Cabinetry and hardware will take the biggest bite out of your budget, totaling close to a third of the cost of remodeling a kitchen. New cabinets are pricey but likely the design element that defines your new kitchen, so it’s a good idea to get what you want rather than skimping too much. If you do want to cut costs a bit, try replacing your hardware and fixtures instead, or perhaps painting your existing cabinetry for a brand-new look without the heavy lift.
Regardless of your overall budget, it’s important to establish a top-line at the get-go. Otherwise, the temptations of, say, stainless-steel backsplash ideas and expensive kitchen flooring may get the better of you next time you’re cruising the aisles at your local home improvement store. Calculate how much you can spend on your kitchen remodel, and try your absolute best to stick to it. The pros from the National Kitchen and Bath Association recommend allocating your kitchen remodel funds as follows:
- Cabinetry and Shelving: 25%
- Installation and Labor: 15%
- Appliances: 15%
- Countertops and Backsplash: 10%
- Flooring: 7%
- Lighting: 5%
- Painting and Drywall: 5%
- Design Fees: 4%
- Doors and Windows: 4%
- Faucets and Plumbing: 8%
- Other: 2%
| Q: What is the 30% rule in remodeling? A: The 30 percent rule is a basic budgeting tool to help you stay on track with finances: You should never spend more than 30 percent of your home value on remodeling any one space. So, if your house is worth $400,000, the top-line figure for your kitchen remodel would be $120,000. |
How Do I Find the Best Kitchen Remodeling Ideas?
Google is a wonderful thing. You’ll find a wealth of information on small kitchen remodeling ideas, kitchen remodeling ideas on a budget, and more. You can also go old-school and peruse design and home improvement magazines for kitchen countertops, options for kitchen islands, and overall kitchen layout ideas. Magazines and sites like Pinterest that offer kitchen remodeling ideas before and after renovation are a fun resource, too — seeing other kitchen transformations can provide inspiration and also calm your anxiety if you’re feeling a bit cautious about the cost.
And speaking of going old-school, don’t feel like you have to stick only with current trends when it comes to remodeling your kitchen. It’s the heart of your home, so beyond being merely functional, it needs to be you. Here are some hallmarks of different styles to consider for your kitchen remodel:
For the classic look, go with simple features and focus on functionality — a good rule of thumb, particularly when you’re looking for kitchen remodeling ideas on a budget.
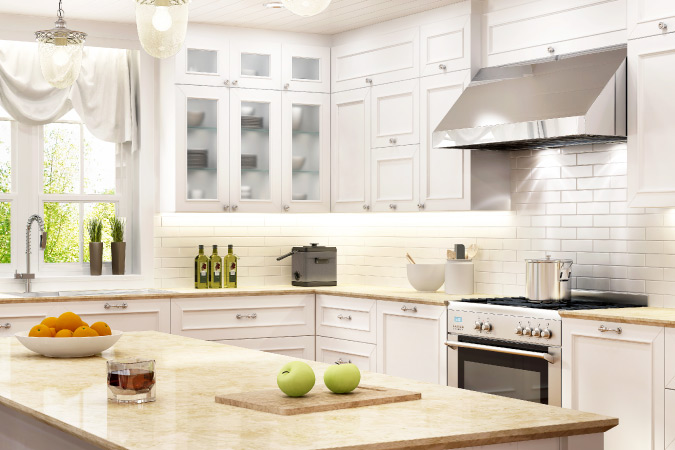
A Classic Look
Keep it timeless, but never styleless, by opting for simple features and minor details. Functionality is important, so always consider how you will use the kitchen and plan your design according to that. It’s a lot like Goldilocks: Nothing too much, nothing too little, but just right. Some of our favorite elements of a classic kitchen remodel include:
- Shaker-style cabinets with a touch of molding.
- A fresh, clean paint job in the white or stone-colored family.
- Avoid “smart” appliances. No need for touch screens here.
- Opt for stainless steel fixtures where possible to keep a sleek look.
- Beautiful granite countertops.
Understatement is the name of the game if you’re going for a classic kitchen. Muted, nature-inspired shades and natural materials will anchor your room and add warmth. To balance practicality and style, mix open shelving with traditional cabinets — a classic touch perfect for showing off family treasures, greenery, and cookbooks while still maintaining the space you need for everyday dishes, glassware, and cookery.
| Pro Tip: Use our Home Remodeling Checklist to keep track of your project from start to finish. |
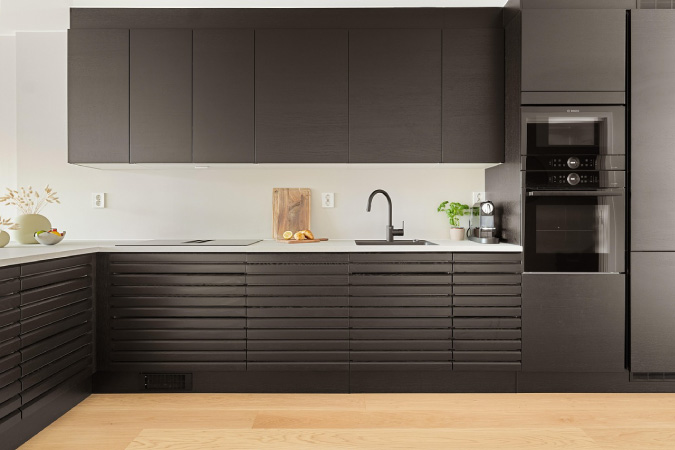
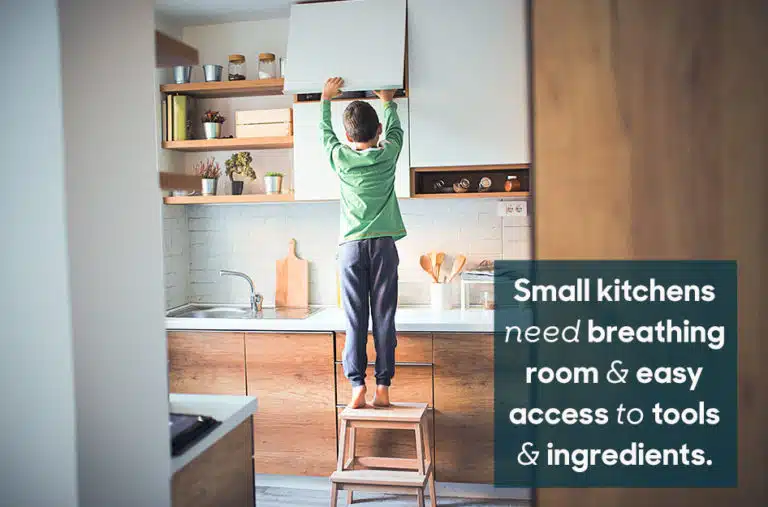
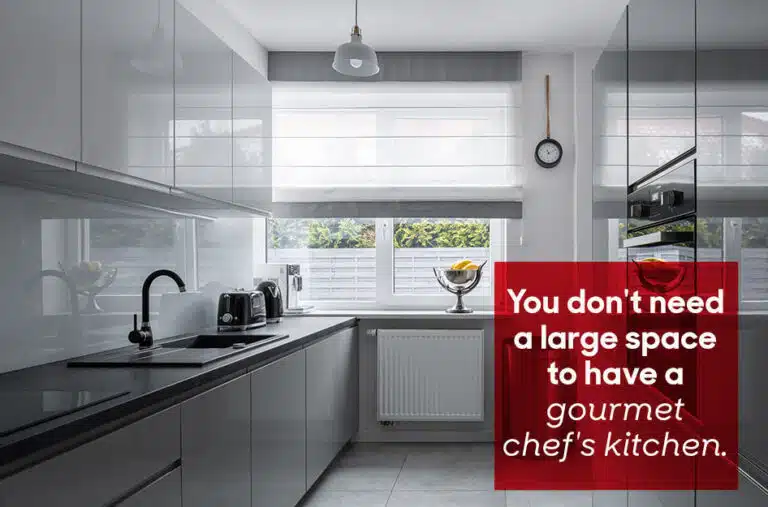
Keep things open and clutter-free with a contemporary design — especially if you’re looking for small kitchen remodeling ideas.
(Source: Pixabay)
A Modern Feel
Bring your kitchen into the 21st century with sleek minimalism and striking details. For this look, we recommend keeping things open and accessible. Think about taking down any walls that may separate your kitchen from other rooms in the house for a seamless transition into the space. You might also install a bar space on your kitchen island and outfit it with simple, yet elegant, barstools. To get you started, here are a few ideas we adore:
- A sleek countertop with square edges. Keep things angular throughout the kitchen.
- Stainless steel or black appliances. Don’t shy away from the smart ones here — this is about modernization, after all.
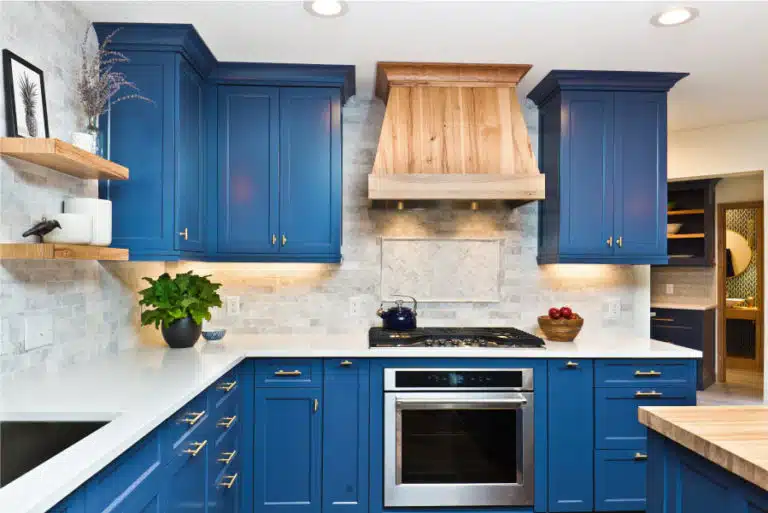
- An accent piece. This could be anything: An industrial-style light fixture, a piece of contemporary furniture, cabinetry in a bold color, or a unique wall decoration.
- Simple cabinets. No frills here, just clean design.
To put together this sleek, modern look, focus on contrast and simplicity. Opt for cabinets with integrated fixtures to keep lines smooth, and use under-cabinet lighting or minimalist pendant fixtures for a no-clutter vibe. To finish the look in your modern kitchen remodel, add the unexpected: An unusual plant or a bright splash of art to create a striking contrast to the clean lines.
| Q: What is a realistic budget for a kitchen remodel? A: For a standard kitchen remodel, experts say the average total cost will range from $15,000 to $50,000, depending on lots of variables — the quality of your materials, how much labor you need to outsource, and other costs. Smaller spaces will, of course, be on the low end of that range, and more elaborate kitchen remodels will go in the other direction. |
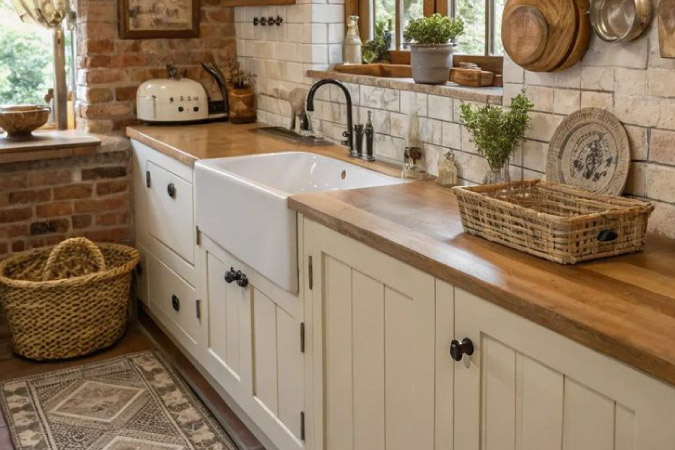
If charming and warm are what you’re looking for in your kitchen remodel, try a vintage style with natural elements.
(Source: HomeMySafeSpace via Pinterest)
A Throwback, Vintage Style
There’s a certain je ne sais quoi to kitchen designs of the past. Kitschy to some, but charming and warm to others. Here are our top tips if you’re looking to be transported back to another time:
- A farmhouse or apron-front sink.
- Ditch the island altogether and opt to keep all your appliances running along the wall.
- Add a welcoming kitchen table — with comfy, cushioned chairs.
- Floor tiles. Nothing says mid-century like those beautiful ceramics.
Vintage appliances. Luckily, you don’t have to scrounge around old junkyards or hunt second-hand markets for one. Companies like Big Chill and Elmira Stove Works make new fridges, stoves, and ovens in that nostalgic style.
A charming vintage-inspired look should evoke one word: Cozy. The way to get it begins with natural, tactile materials — heavy wood elements, exposed concrete or granite walls — and a sturdy kitchen table for everyday meals and family game nights. Add a splash of clean white with an old-fashioned apron-front sink. Find a soft, muted throw rug to place underfoot, and be generous on your shelves and surfaces with displays of colorful pottery, plants, and overflowing fruit bowls. A sun-dappled golden retriever basking by the door will complete the vibe.

If your budget permits, the help of a professional designer is always a good idea during a kitchen remodel.
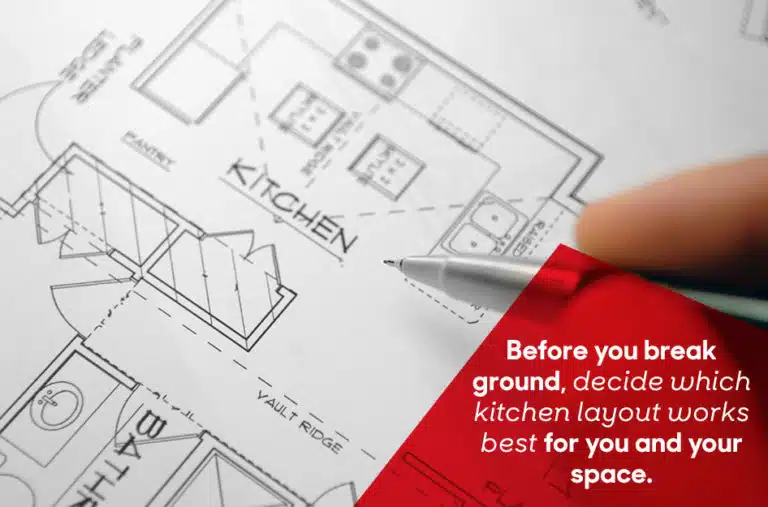
In What Order Do You Remodel a Kitchen?
Treat your kitchen remodel as you would any important project: Start by making a plan. Here’s a high-level recommendation for how to proceed:
1. Design Your Dream Kitchen
Keeping your budget in mind, put together the specs of your new space — perhaps with the help of a professional designer. Think about kitchen designs you’ve seen and liked, and use those images to choose the kitchen flooring, kitchen cabinets, and kitchen countertops you want. Home-improvement stores are super useful for seeing side-by-side examples of kitchen layout ideas, as well as color palettes for kitchen tile and other design elements.
| Pro Tip: You know those high-end retail stores that you think you can never afford? Who says you can’t go there for some inspiration? Even if the products are way out of your budget, you can get great ideas. Then, you can go on the hunt for more affordable look-alikes. |
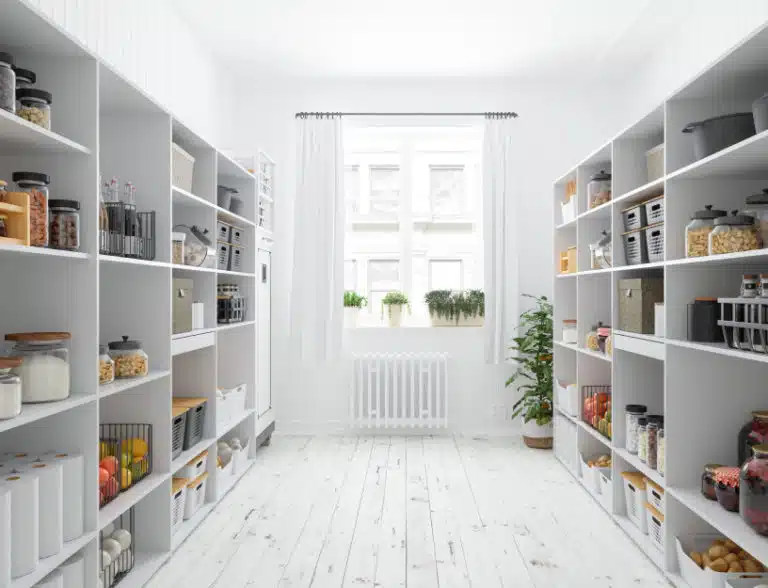
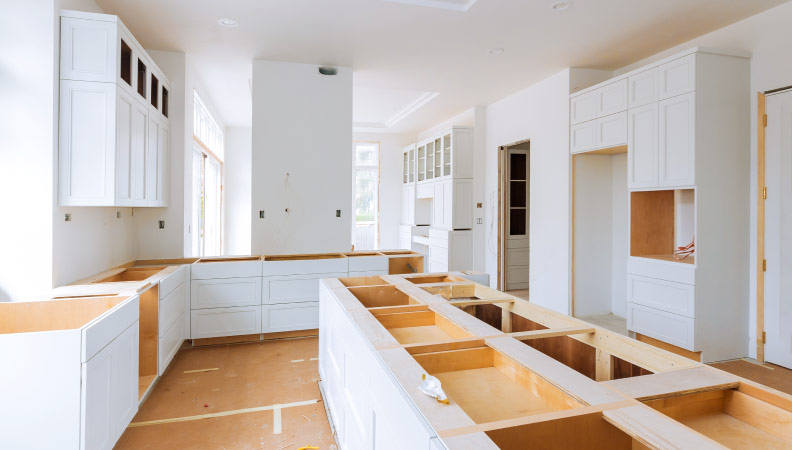
2. Create a Space for Storage During the Remodel
Home remodeling projects are notorious for the perpetual mess and clutter they generate. They’re also notorious for taking longer than expected. A perfect solution for all of this? Have a PODS portable storage container delivered right to your driveway when your home remodeling project is about to get underway. Fill it with tools, pots and pans, flooring tiles, old and new appliances, and anything else you want to keep out of the way while you transform your kitchen. And keep it for as long as you need it. Maintaining a neat and orderly workspace will not only keep you from losing your mind, but it can also help speed up the remodeling project, as well.
3. Hire a Contractor
Unless you’re doing a minor renovation and going the DIY route, it’s essential to have a professional guiding the project. For starters, permits are required for major renovations, and an experienced contractor can navigate that process for you — saving you time, money, and a massive headache. And second, with a pro at the helm, you’re far less likely to encounter costly errors in installation, wiring, plumbing, and all the other systems a kitchen remodel involves.
Do your due diligence when it’s time for hiring home remodeling contractors. Ask for recommendations from friends who’ve recently tackled renovations. When you’ve narrowed your search to two or three finalists, read online reviews from customers, ask for references, and then check them. Also, make sure you interview your candidates. You’re going to be spending some quality time with your contractor, so you want to make sure you pick someone you’re comfortable having in your home.
And finally, get your agreement in writing — with all the details and costs spelled out explicitly. Presumably, the contractor you’ve selected is trustworthy, and the process will go smoothly. But as with any transaction, it’s a best practice to have everything on paper.
4. Get Ready for Construction
The final stages of redoing your kitchen constitute the heavy lift: Demolition, build-out (if you’re going that route), plumbing/wiring/HVAC installation, walls and ceiling, and painting. Thankfully, you have a contractor to manage these processes. (Right?) Your job at this point is to think about kitchen decorating ideas for your finishing touches once all the work’s done.

Make room for home remodeling with a PODS portable container delivered right to your driveway.
Prepare for Your Kitchen Remodel With PODS
You can make room for all the work involved in your kitchen remodel — and future home remodeling projects — with a PODS portable moving container delivered right to your driveway. Load it at your own pace with furniture, tools, and anything else you need to stash away while your bedroom, bath, or kitchen remodel is underway. When you’re finished, simply let PODS know and your container will be picked up. Visit PODS online for a free quote.
Shannon Jacobs is a Tampa-based freelance writer and frequent contributor to the PODS Blog. She has lived in Atlanta, the Berkshires, and Nashville, but always returns to the warmth of Florida’s Gulf Coast.
*This article was written on behalf of PODS Enterprises, LLC (“PODS”). PODS does not warrant the completeness or accuracy of any information contained in this article and disclaims any liability for reliance upon the content herein.
Your quote in 60 seconds
Get pricing tailored to your needs!
Related Articles


Maximize Health and Happiness in Your Home With These Kitchen Feng Shui Tips
Kitchen Remodeling
Read more